How to Make Custom Phone Cases with Cricut
Custom phone cases are a great way to express your personal style while protecting your device. If you’re looking for a way to make your phone stand out, one of the best ways to do that is to make your own phone case with Cricut. With Cricut’s wide selection of materials and tools, you can create a phone case that’s unique to you. Here’s a guide to help you get started.
Step 1: Choose Your Materials
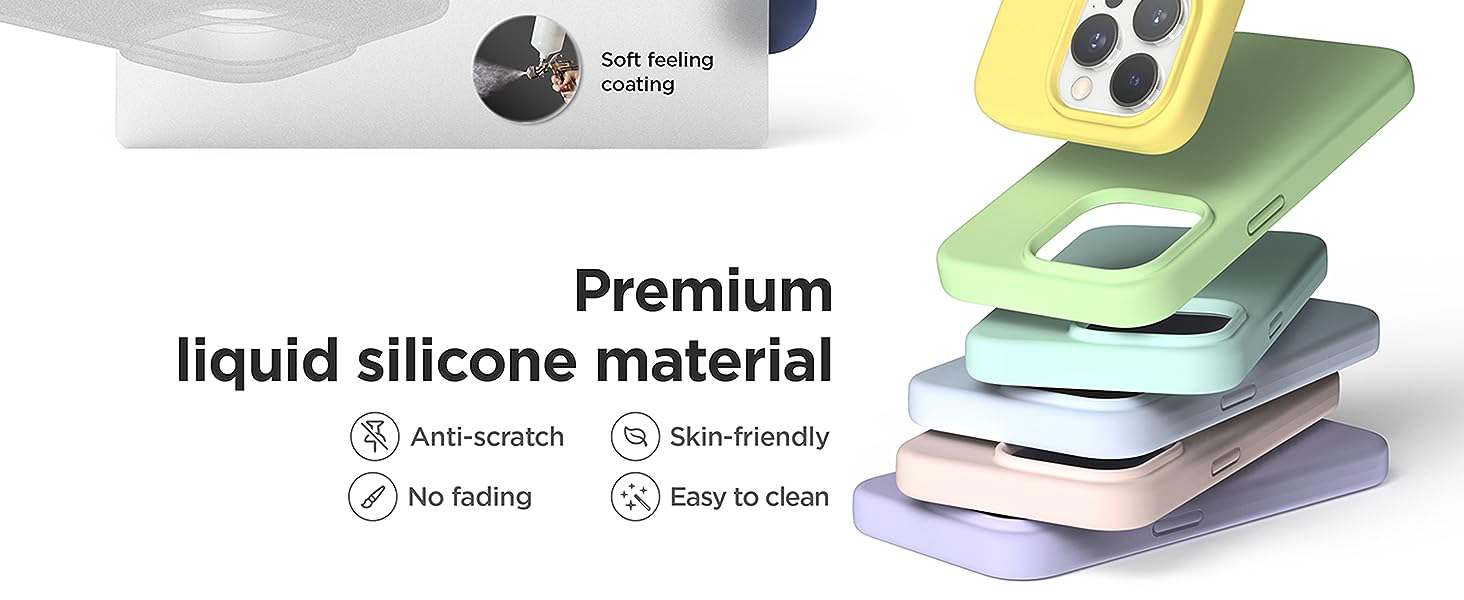
The first step in making a custom phone case with Cricut is to select the materials you’ll be using. Cricut offers a wide range of materials that can be used to create phone cases, from faux leather and vinyl to adhesive foil and iron-on. Consider the look and feel you want for your phone case, and choose materials that will best meet your needs. For a more durable phone case, faux leather and vinyl are excellent choices. If you’re looking for a case that’s stylish and eye-catching, adhesive foil and iron-on are great options.
Step 2: Design Your Phone Case
Once you’ve chosen your materials, it’s time to design your xiaomi mi 11 ultra case. Cricut’s Design Space software is an easy-to-use design program that allows you to create your own custom designs for your phone case or choose one from the library of ready-made designs. With Design Space, you can add text, images, and other elements to your phone case, as well as adjust the size and orientation of the design. Once you’re satisfied with the design of your phone case, you can save it and move on to the next step.
Step 3: Cut Your Materials
Once you’ve designed your phone case, it’s time to cut it out. Cricut’s machines come with a variety of tools that make it easy to cut your materials precisely. Depending on the material you’ve chosen, you’ll need to select the correct blade and setting for your machine. For example, if you’re using faux leather, you’ll need to select the rotary blade and the “leather” setting. The Cricut Design Space software will provide you with the correct settings for the material you’ve chosen.
Step 4: Assemble the Case
Once you’ve cut out the pieces for your phone case, it’s time to assemble them. Depending on the materials you’ve chosen, this step may vary. If you’ve chosen faux leather, for example, you can use a glue gun to adhere the pieces together. If you’ve chosen vinyl or adhesive foil, you can use an iron to adhere the pieces. Once the pieces are adhered, you can use a ruler and a craft knife to trim any excess material from the edges of the case.
Step 5: Personalize Your Case
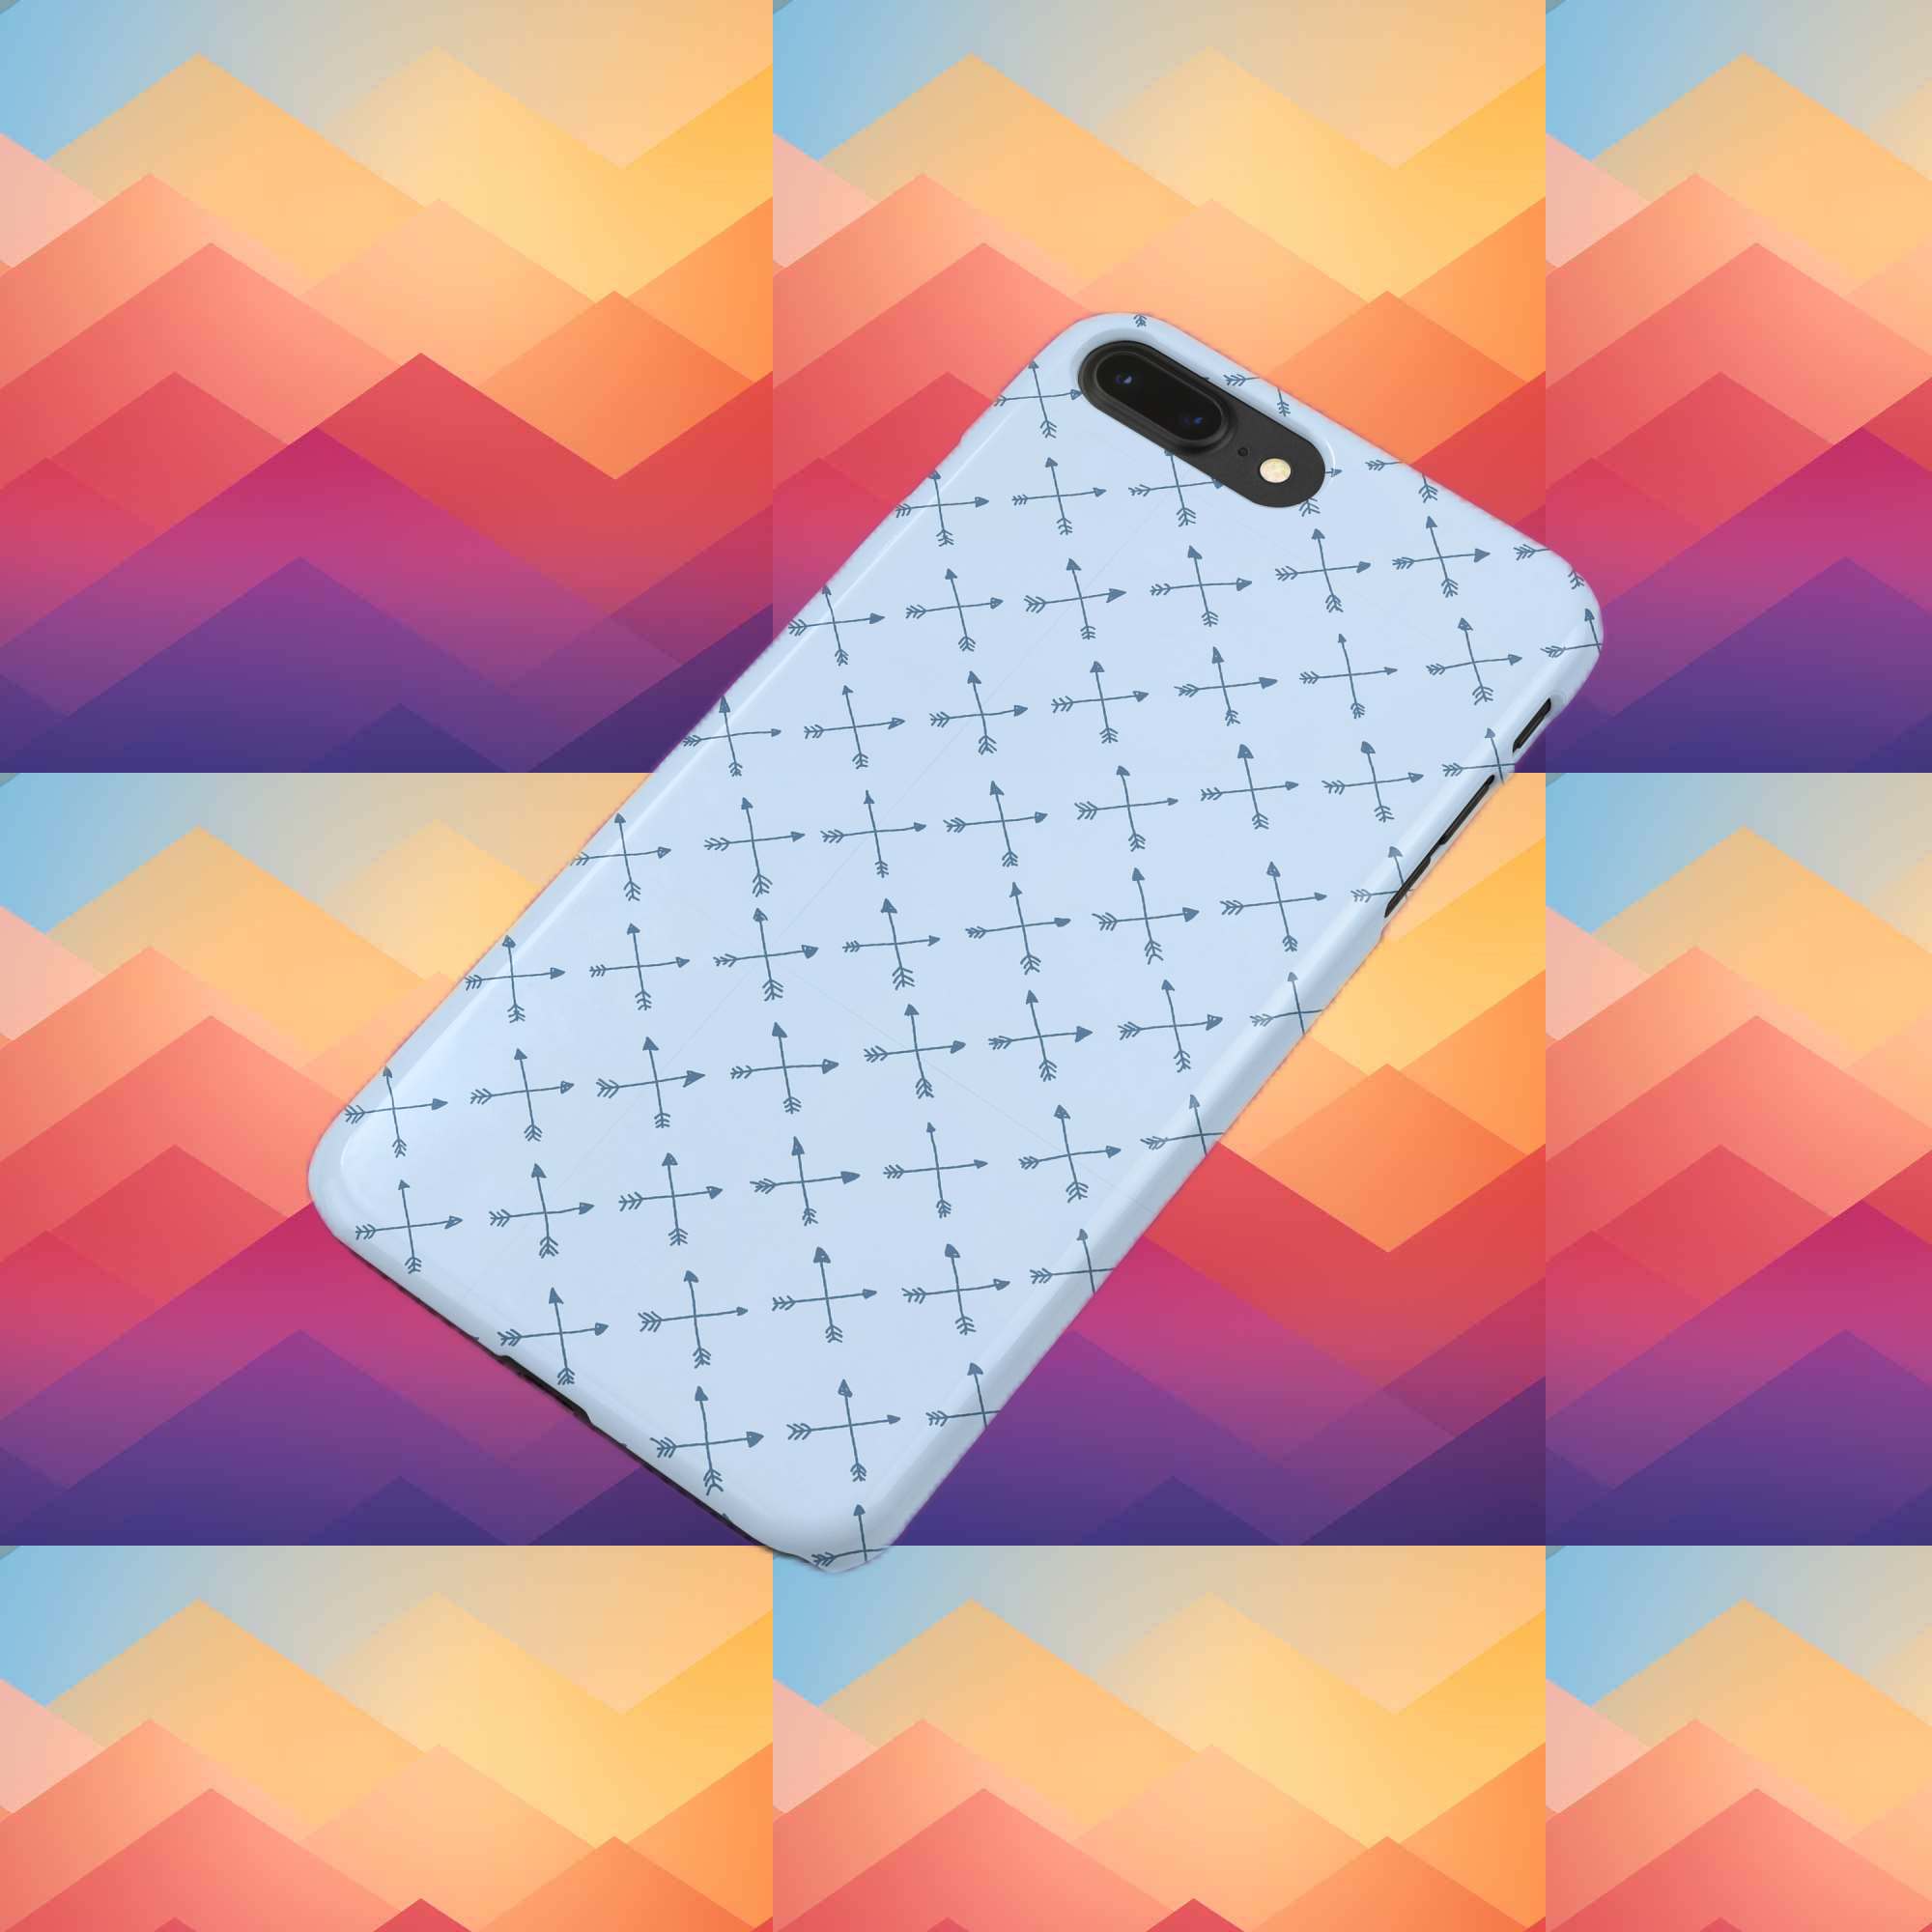
Finally, it’s time to personalize your phone case. Cricut offers a variety of tools and accessories that can be used to add unique touches to your phone case. For example, you can use iron-on transfers to add text or images to your phone case. You can also use Cricut’s cutting tools to add decorative elements, such as hearts, stars, or other shapes. These tools can be used to make your phone case stand out and express your personal style.
Making a custom course detail with Cricut is a great way to protect your device and express your personal style. By following these steps, you can quickly and easily create a unique phone case that’s sure to stand out. With a wide range of materials and tools available, you can make a phone case that’s truly one of a kind.